Historical reference: Windows 7 support ended on 14 January 2020. This is a translation of the site's original installation walkthrough, not a recommendation to install Windows 7 for ordinary internet-connected use. See Microsoft's explanation of unsupported Windows versions.
Data-loss warning: installation, formatting and partition changes can erase data. Use an isolated test machine or virtual machine for historical study, and keep verified backups. This page does not provide installation media, a product key or a way around licensing.
1. Start from installation media
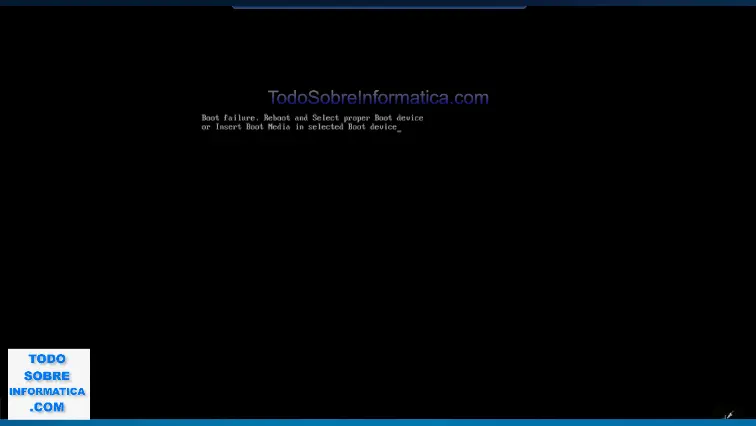
The original guide begins with a computer showing a black startup screen because it has no usable operating system. It then inserts Windows 7 Home or Professional installation media — described as a disc or USB drive — and restarts the computer.
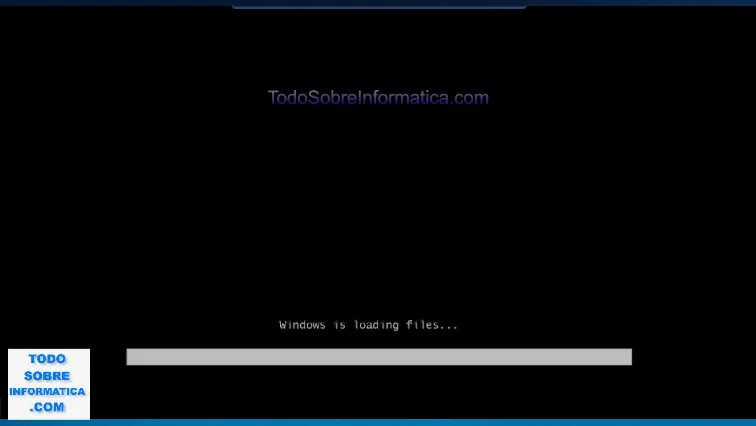
Windows loads the files needed by the installer.
2. Select language and regional options
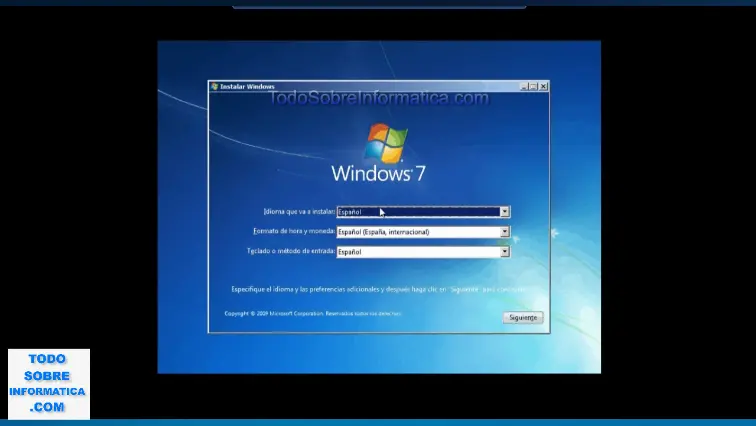
The screen asks for the installation language, time and currency format, and keyboard or input method. The original article notes that some installation media include only one language. These screenshots show the original Spanish interface.
3. Install or repair
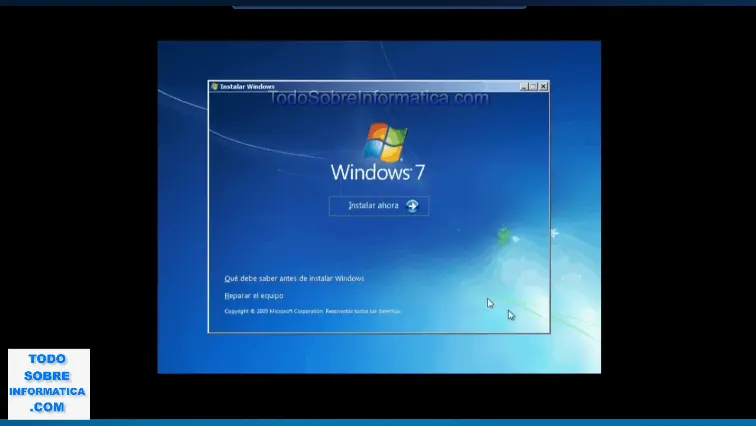
The screen offers Instalar ahora (Install now) and Reparar el equipo (Repair your computer). The source proceeds with installation; the repair option concerns an existing Windows installation.
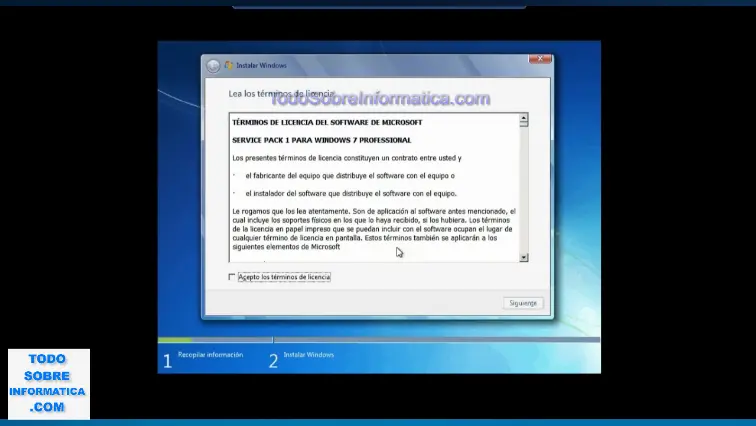
4. Read the licence terms
The original walkthrough shows the Microsoft software licence terms. Continuing requires accepting them and selecting Next. Only accept terms if you have read and agree to them.
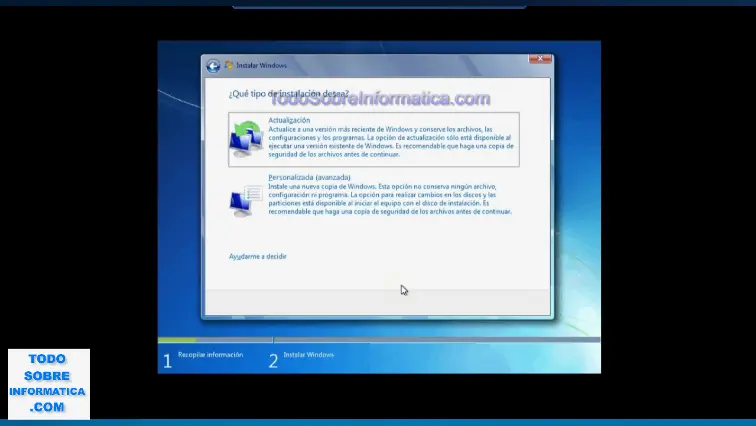
5. Choose the installation type
The source explains Actualización (Upgrade) for an eligible existing installation and Personalizada (avanzada) (Custom, advanced) for a new installation or reinstall. This historical screen is not a statement about currently supported upgrade paths.
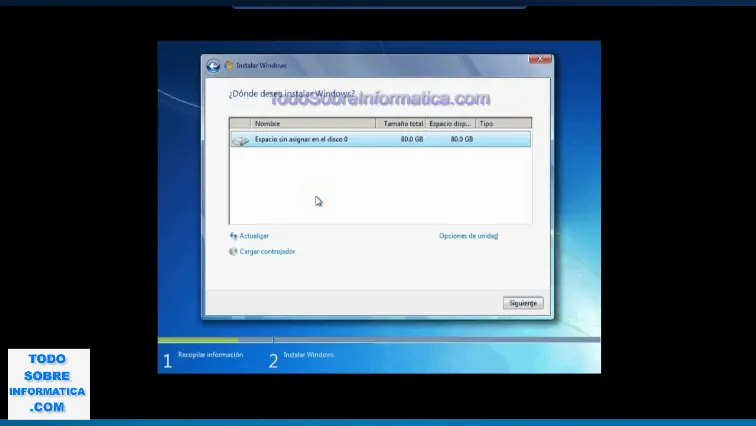
6. Select the destination carefully
Setup lists the available disks or partitions. The original guide warns about losing the selected drive's data and describes options to create, delete or format partitions. Confirm the exact destination and backup before making any changes. The source also suggests an SSD for performance; that does not establish compatibility for a particular old machine.
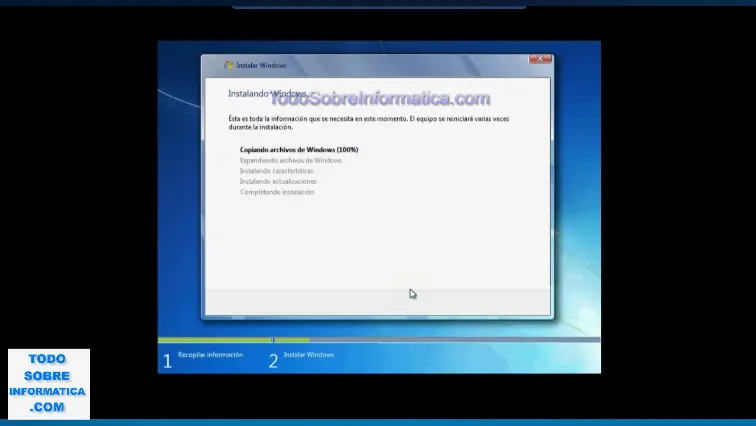
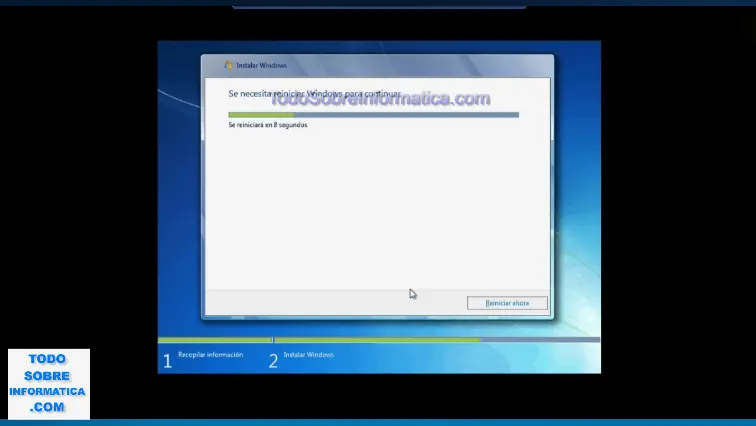
7. Installation progress and restarts
The installer shows five stages: copying Windows files, expanding them, installing features, installing updates and completing installation. The source notes that duration depends on the computer and that it restarts automatically several times.
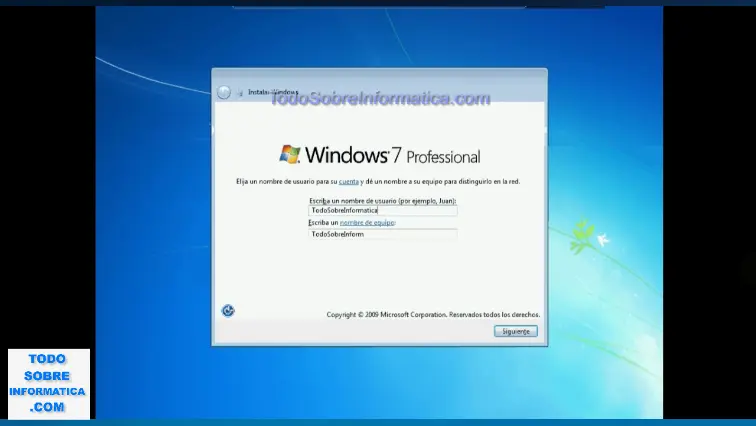
8. Name the user and computer
The next illustrated screen asks for a user name and computer name, also known as the hostname.
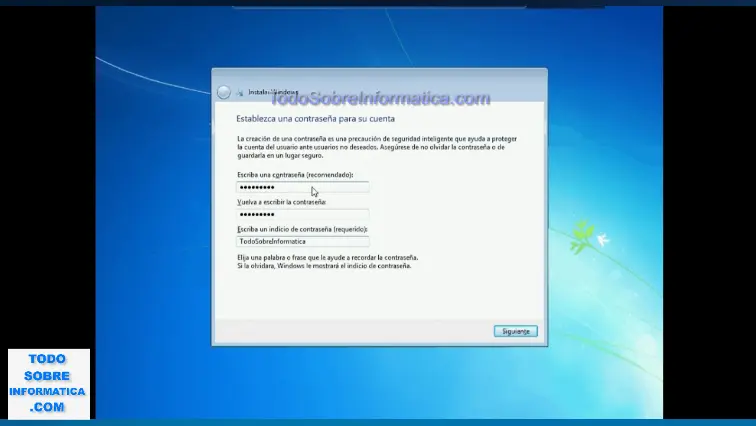
9. Set the account password
The source describes a password and password hint. Although the old setup allows an empty password, the author recommends using one. Avoid a hint that discloses the password itself.
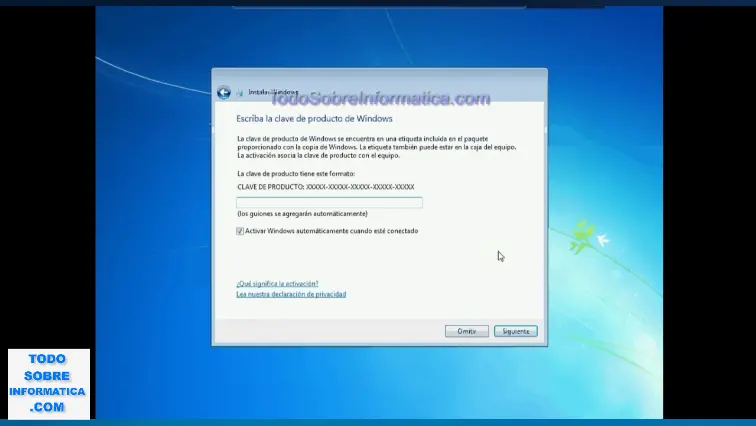
10. Product key screen
The last screen covered by the original article asks for the product key supplied with the licensed copy. The walkthrough stops at this screen; it does not document every remaining configuration or activation step.
Comments (0)
Comments are shown in their original language.
No comments have been published yet. Be the first to join the conversation.